Preparing for Hard Flooring Installation
You’ve chosen an essential part of your home. Now let’s work together to create it!
And as each store provides different installation, please check with your local store for the relevant pricing structure and what items are included. This also includes whether you require any floor preparation, which can generally be organised by your local store.
Remember – the team will be with you every step of the way, so if you’re not sure of what’s required, please contact your local Choices Flooring store at anytime.
Below are some tips on how to prepare for hard flooring installation in your home:
1
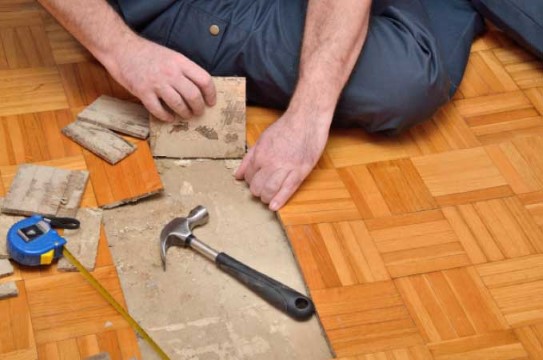
Remove your existing hard flooring including underlay. You may have opted for us to do this as part of our pricing, in which case, don’t worry!
2
Vacuum your flooring area to remove dust particles, if you’ve removed flooring.
3
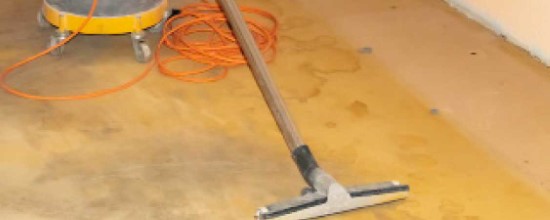
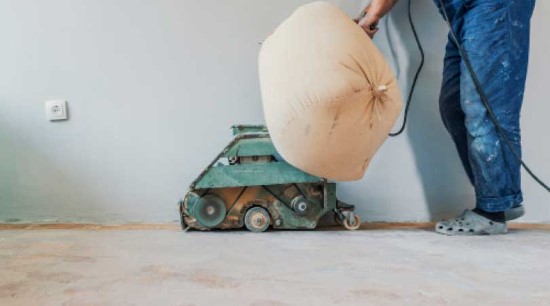
Level your floor to ensure that your floor coverings are as even as possible. Sanding the original floor may therefore be necessary so please speak to your local store about this.
Cover all surrounding furniture, fixtures and fittings to minimise dust.
Close doors and windows to section off the installation area from the other parts of your home.
4
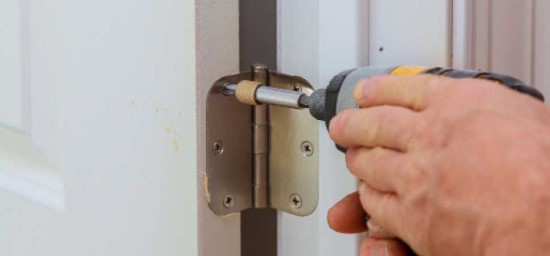
Grind your floor to allow doors to slide open if your new floor will be higher than your previous one. Or if needed, remove doors in the way of where the new floor covering will be installed (this job is usually done by tradespeople).
5
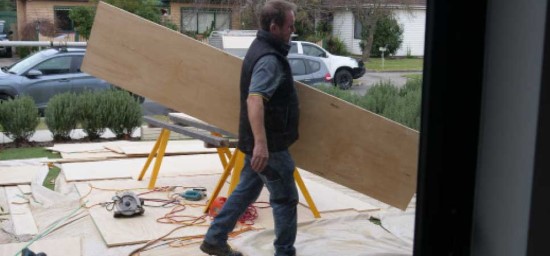
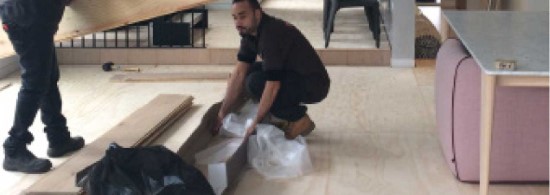
Prepare a space inside or outside your home where our team can cut hard flooring planks or underlay during installation. Cutting can cause sawdust so ideally a garage or driveway.
Prior to installation, you’ll also need to
1
Move any fragile objects out of cabinets so they don’t break when furniture is moved.


2
Move furniture away from the installation area (if this is not included in the installation price)
3
Cover any air vents, heaters and nearby furniture for protection.

4
Ensure there’s a clear pathway for installers to move in and out of your home.
5
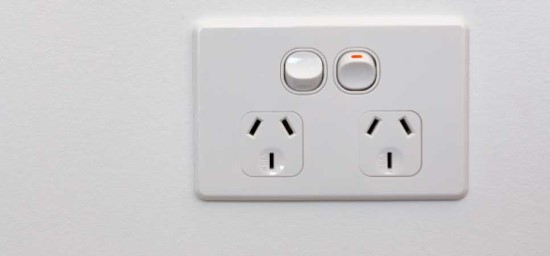
Electrical power points should be accessible for installers to use for their tools of trade.
It would be helpful for appropriate space allowance to be made available for the installers to store floorcoverings and tools throughout the duration of the installation.

6
For effective airflow during the removal and installation of the floor coverings, it is recommended that doors and windows are open.
Children and family members should be well away from the installation area and close surrounds.
Installation day!
1
Unplug wiring from electronic appliances near the installation area.


2
Disconnect and remove main household items near the installation area such as computers, televisions, video and DVD players, stereo systems, fridges, freezers, free-standing ovens, dishwashers, and washing machines.
All low hanging light fittings should be raised or removed. It is recommended that these electrical and gas appliances should be disconnected, removed and reconnected by a certified tradesperson.
3
Keep children and pets away from the installation area (as exciting as it is, they’ll just have to wait!).

After installation
1
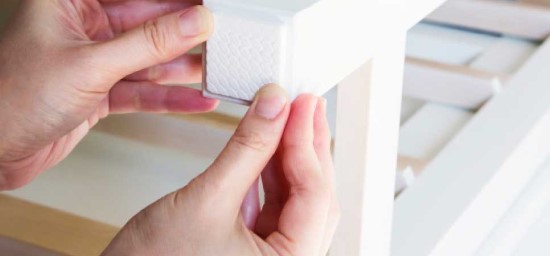
Make sure you’ve placed appropriate protectors on the feet of your furniture to avoid damaging your new hard flooring.

2
Return your furniture. Most hard floors can be walked on within an hour of installation, so you won’t have to wait long.
3
Show off your new hard flooring to your local Choices Flooring team! Send them few happy snaps once you’ve settled in and don’t be shy to share them across Choices Flooring's social media community.
And remember if you’ve had a great experience with us,
please review us on Google!